
Decal Installation Guide
Follow these professional steps for a perfect, bubble-free installation every time. This guide works for wall decals, vehicle graphics, window stickers, and more.
⚡ Before You Start
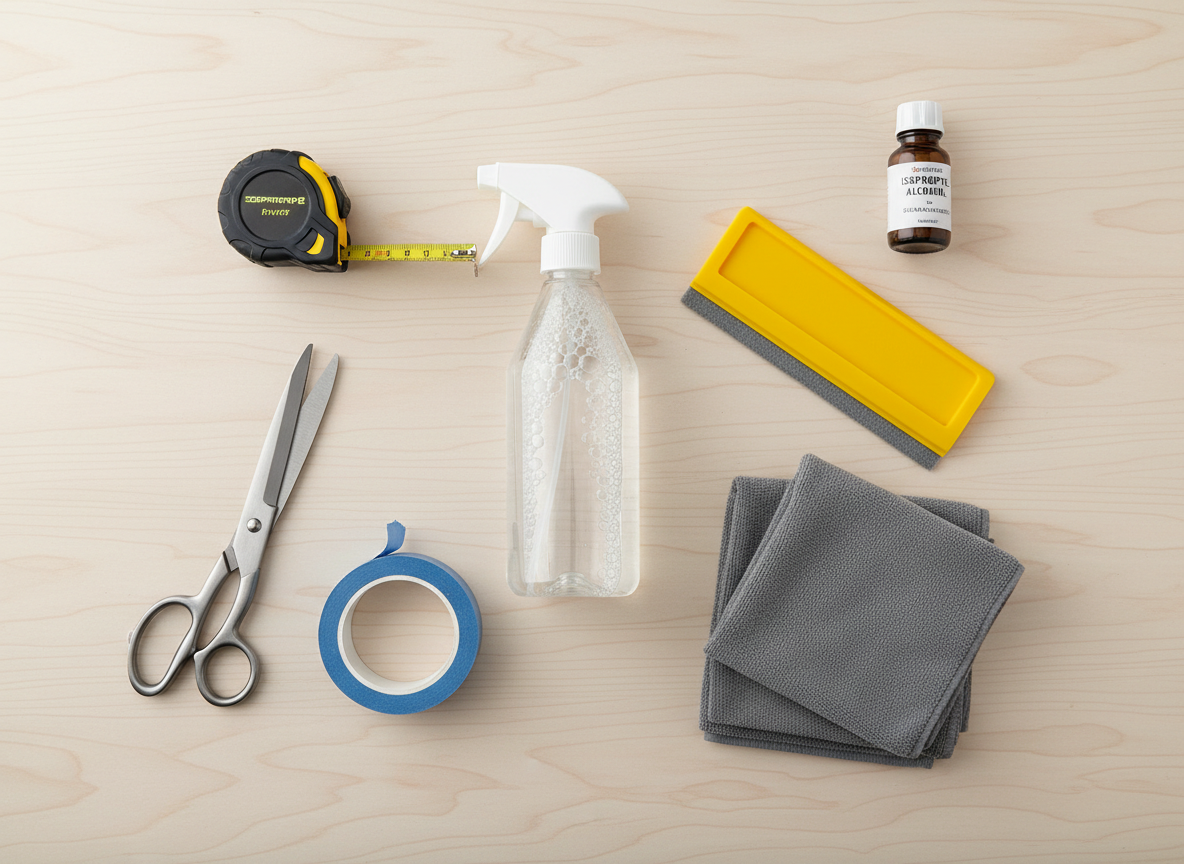
Gather Your Tools
Before you begin, make sure you have all the necessary tools ready. This will make the installation process smooth and professional.
- Spray bottle with soapy water (few drops of dish soap)
- Squeegee or credit card wrapped in soft cloth
- Microfiber cloths (lint-free)
- Masking tape
- Measuring tape or ruler
- Isopropyl alcohol (90%+)
- Scissors or utility knife
💡 Pro Tip: Avoid using paper towels as they leave lint behind that can get trapped under your decal.

Clean the Surface
A clean surface is the most important factor for a successful installation. Any dirt, dust, or oils will prevent proper adhesion.
- Wash the area with soap and water
- Dry completely with microfiber cloth
- Wipe down with isopropyl alcohol
- Let dry for 2-3 minutes
- Do NOT touch the cleaned area
💡 Pro Tip: Clean a larger area than your decal size. This gives you room to work and prevents contamination from edges.
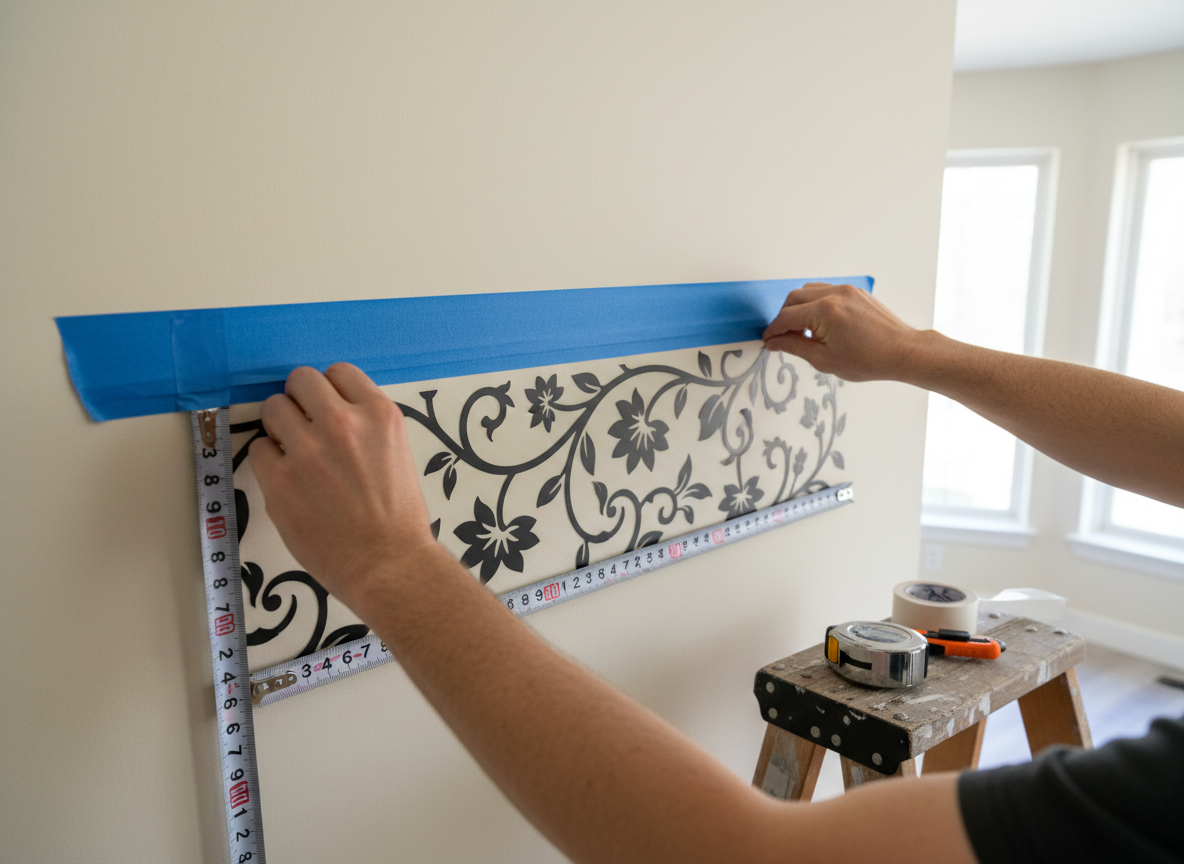
Position & Tape
Proper positioning before you commit ensures your decal is straight and exactly where you want it.
- Hold decal up to surface (don't remove backing)
- Use measuring tape to center it
- Mark position with small tape pieces
- Create a hinge with masking tape along top edge
- Step back and verify placement
💡 Pro Tip: Use a level app on your phone to ensure your decal is perfectly straight. Even small angles are noticeable!
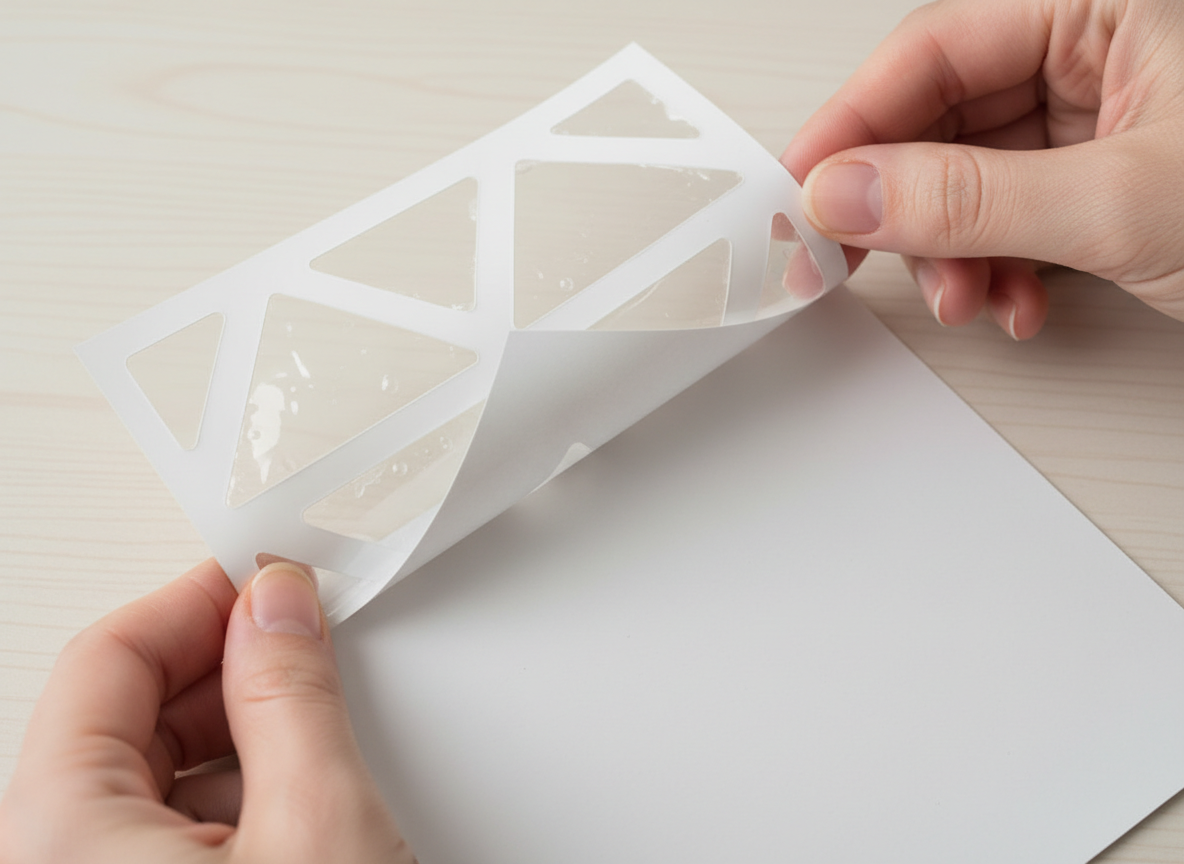
Peel the Backing
With your hinge tape in place, carefully remove the backing paper while keeping the decal attached to the transfer tape.
- Flip decal up using hinge tape
- Slowly peel backing paper at 45° angle
- If vinyl lifts with backing, lay flat and burnish
- Remove backing completely
- Cut off any excess backing
💡 Pro Tip: For large decals, have a helper hold the decal away from the surface while you remove the backing to prevent premature sticking.
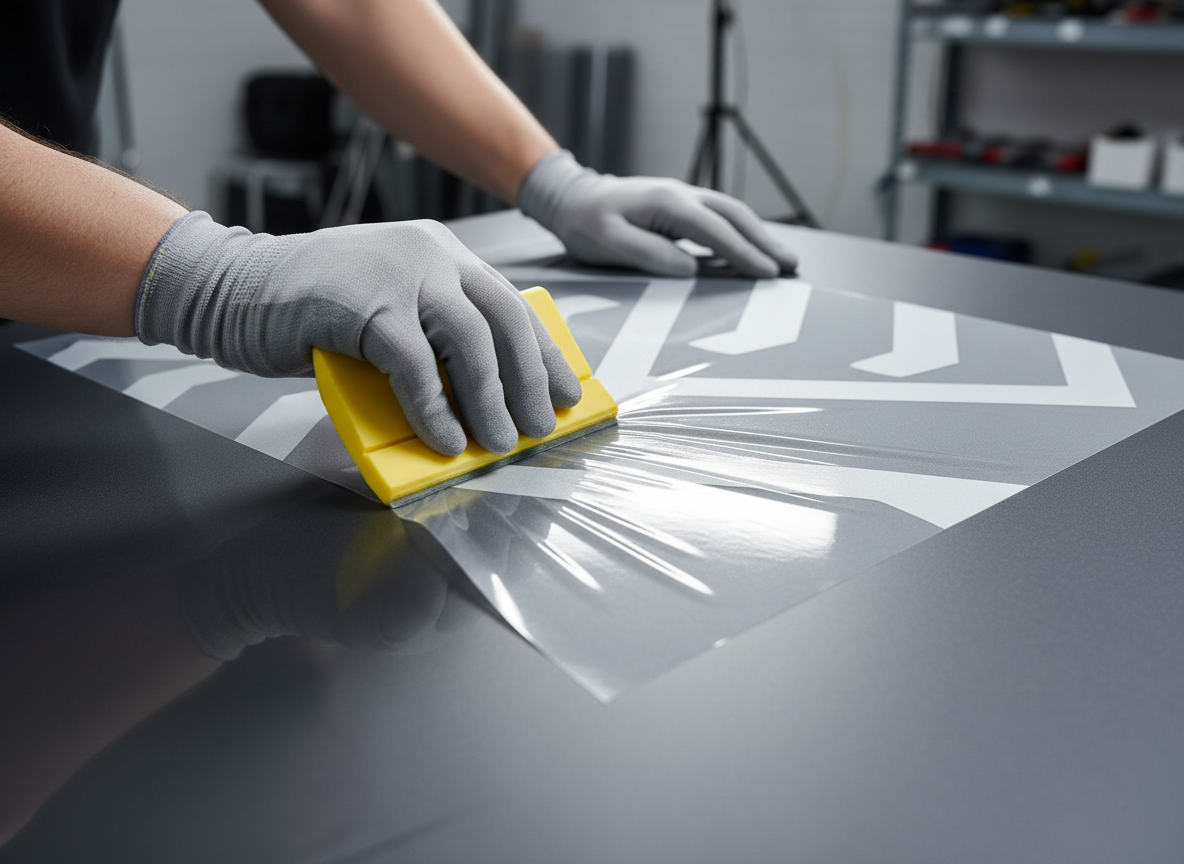
Apply the Decal
This is the moment of truth! Work slowly and methodically for the best results.
- Lower decal onto surface starting from hinge
- Use squeegee from center outward
- Apply firm, overlapping strokes
- Work out any air bubbles toward edges
- Go over entire surface 2-3 times
💡 Pro Tip: For wet application, spray surface with soapy water first. This allows repositioning but requires longer dry time (24-48 hours).
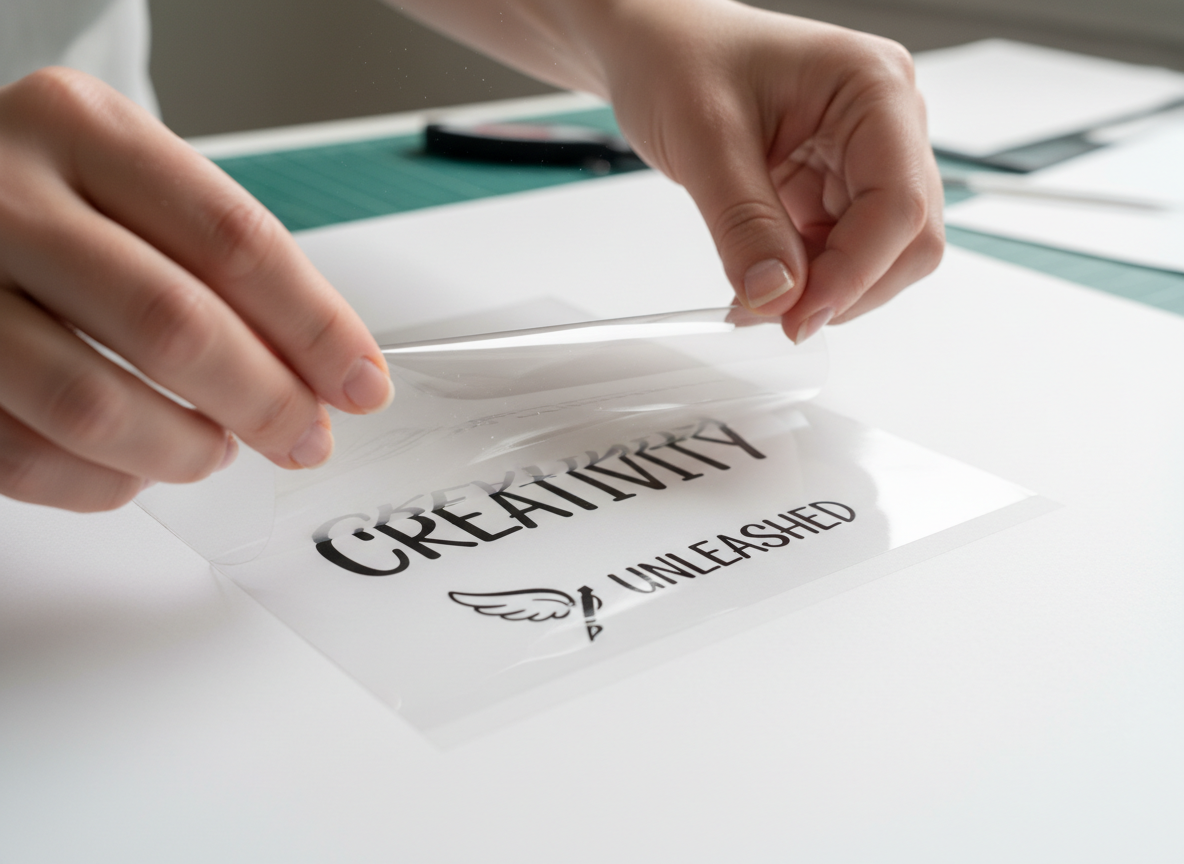
Remove Transfer Tape
The final step! Patience here prevents lifting and ensures clean edges.
- Wait 5-10 minutes after application
- Peel transfer tape slowly at 180° angle
- Pull back on itself, not up and away
- If vinyl lifts, press down and wait longer
- Go slow around detailed areas
💡 Pro Tip: In cold weather, use a hair dryer on low to warm the decal slightly before removing transfer tape. This helps adhesion.
🔧 Troubleshooting Common Issues
Air Bubbles
Small bubbles often disappear within 24-48 hours. For larger bubbles, poke with a pin at an angle and squeegee air out.
Decal Won't Stick
Surface may have residue. Re-clean with isopropyl alcohol. Some textured surfaces may not be compatible with vinyl.
Edges Lifting
Apply heat with a hair dryer and press firmly. For vehicle graphics, edges may need extra burnishing after 24 hours.
Vinyl Stretching
Don't pull or stretch the vinyl during application. If stretched, it will shrink back and may lift. Start over if needed.
Need Professional Installation?
We offer professional installation services with a 3-year warranty. Let our certified installers handle it for you!
© 2026 Titan Graphics Studio | Lehigh Valley, PA | 610-969-5520